Microsoft Office 365 for macOS
Upgrading your Mac from Office 2016 to Office 365 (O365)
We are pleased to announce the availability of Microsoft Office 365 for our supported Apple computers.
Microsoft ended support for Office 2016 for Mac on October 13, 2020. While the current 2016 version of the Microsoft Office will continue to function, it will no longer receive software updates, security, or functionality updates. With this in mind, we strongly encourage you to upgrade to Microsoft Office 365 as soon as possible to continue to receive regular and security updates from Microsoft.
Follow our instructions to identify the current version of Microsoft Office installed on your Mac. If you currently have a version older than 2016 installed on your Mac, contact the SCS Help Desk at 412-268-4231, help@cs.cmu.edu or submit a support request.
Upgrade Office on an SCS-supported MacUpgrade Office on an unsupported Mac
Please Note: In order to upgrade to Office 365, your Mac needs to meet the minimum hardware requirements. Office 365 for Mac currently supports macOS 10.13 High Sierra, 10.14 Mojave, 10.15 Catalina, and will support macOS 11.0 Big Sur.
-
To verify which version of Office for Mac you are using, first open an Office program of your choice (in this example, we will use Microsoft Word).
Next, click on the program name in the menu bar (located directly to the right of the Apple menu) and select the About the program option.

-
The version of Office will be listed in the resulting pop-up window.
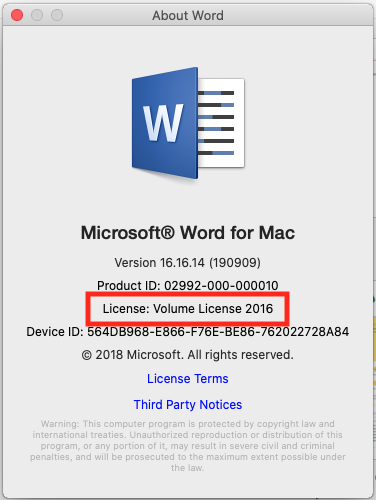
How to Find Office Version Information
-
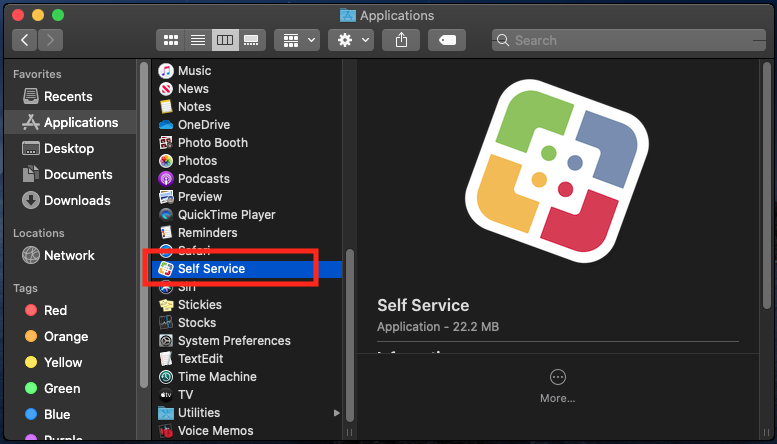
Open the Self Service application located in the Applications folder
The Self Service application is pre-installed on SCS-configured Macs, if you do not have the Self Service application please proceed to the instructions for unsupported Macs.
-
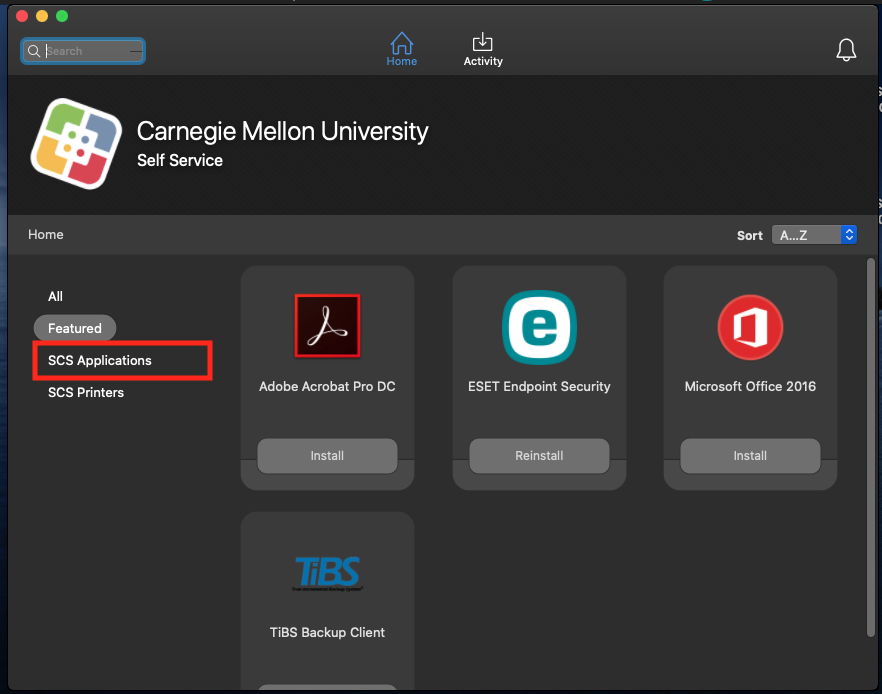
Select SCS Applications in the lefthand sidebar
-
Locate the Office for Mac icon as shown here and select Install

-
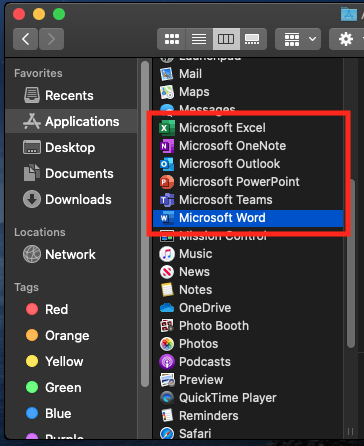
Once the install is complete, the new Office 365 icons can be seen in the Applications folder.
-
To activate Office 365, start by opening the Office application of your choice. Once the application opens, you will see the "Activate" bar at the top of the window as shown here in Microsoft Word. Select Activate.

-
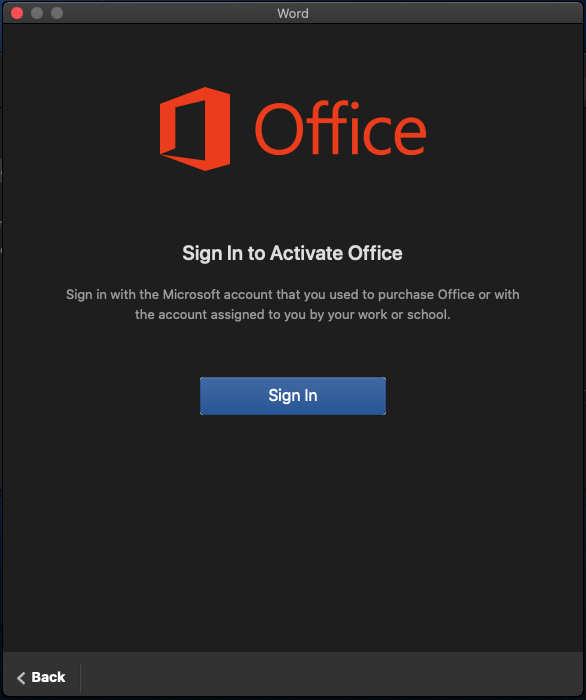
An Office sign-in window will pop up, select Sign In.
-
Type in your AndrewID email and select Next

-
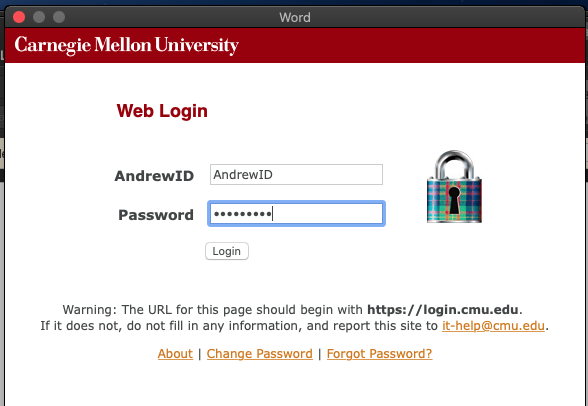
Type in your Andrew ID and password in the Andrew authentication window.
-
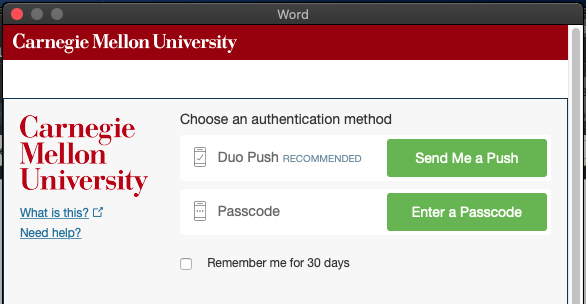
Complete the Duo Push prompt
-
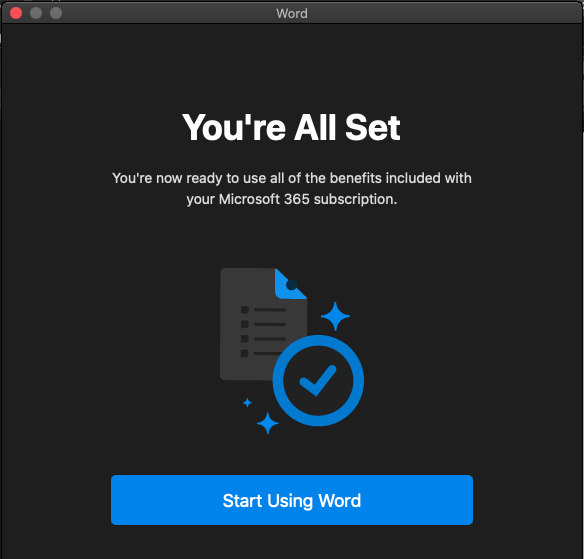
After completing the Duo Push prompt, the activation is complete and you may start using Microsoft Office.
Upgrading an SCS-Supported Mac to Office 365
-
If your Mac is not enrolled in SCS Software Support and does not have access to the Self Service application, SCS Computing Facilities has created an install package for Office 365. Select the link below and then proceed to the next step.
-
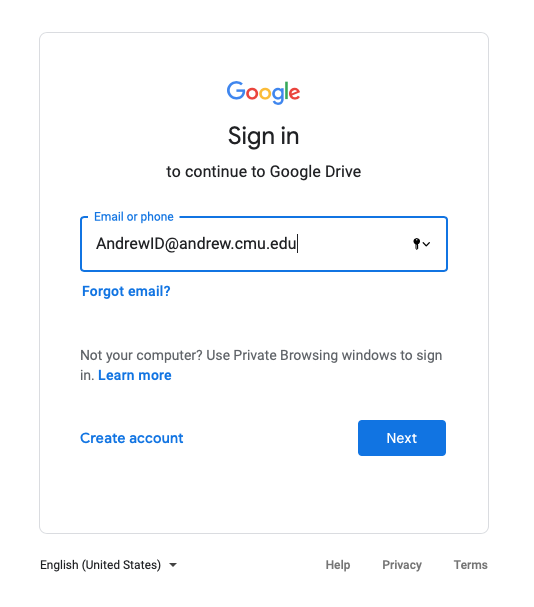
The download is restricted to those with Andrew accounts. Enter your Andrew email in the sign in field.
-
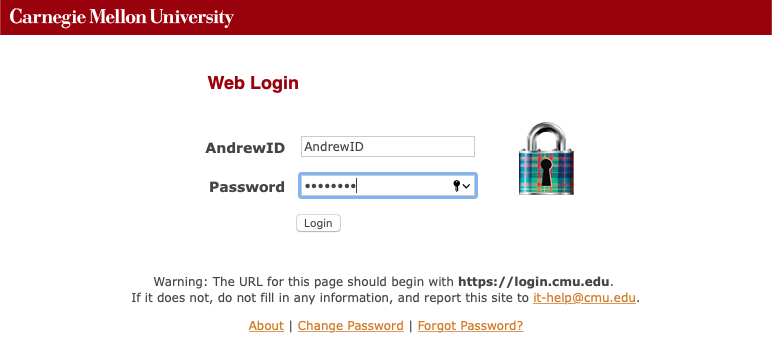
You will be automatically redirected to Andrew SSO authentication, enter your AndrewID and password and select Login
-
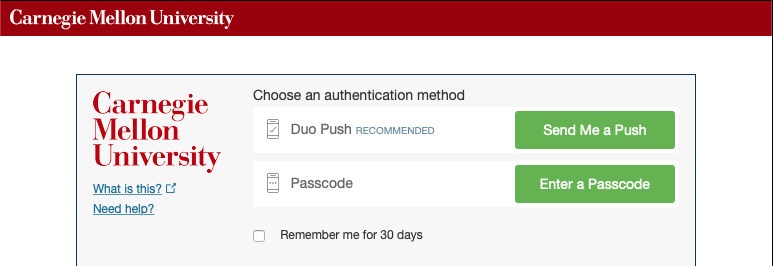
Complete the Duo Push prompt if requested
-
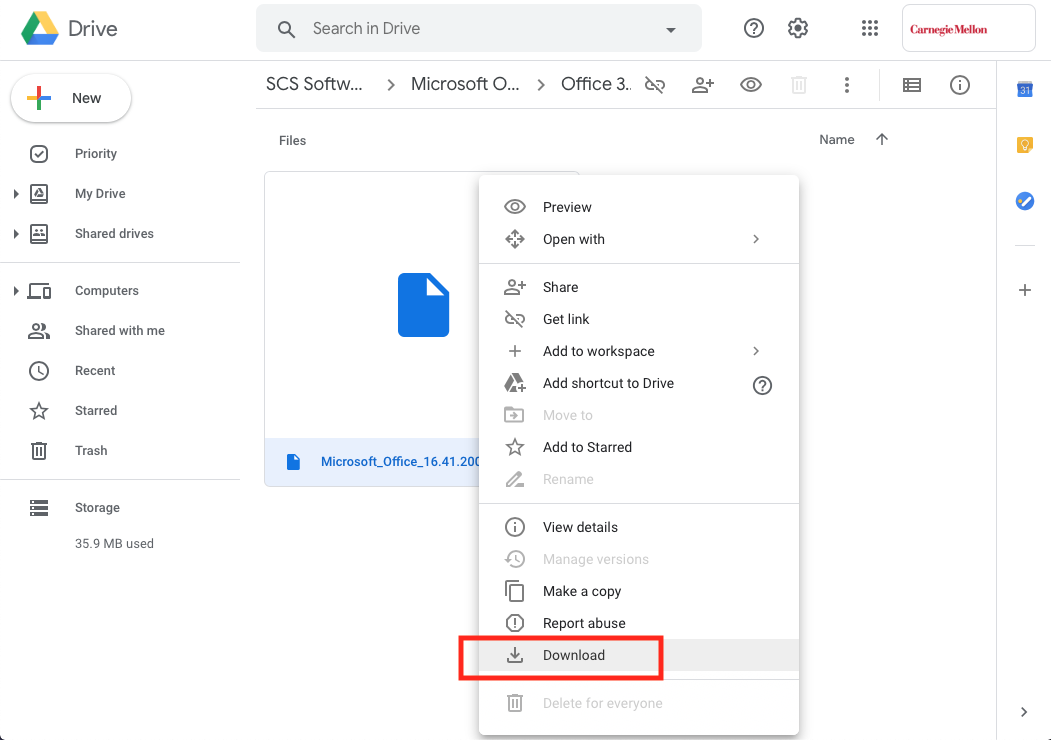
The install package is stored in a secure Google Drive folder. Right click the install package and select Download.
-
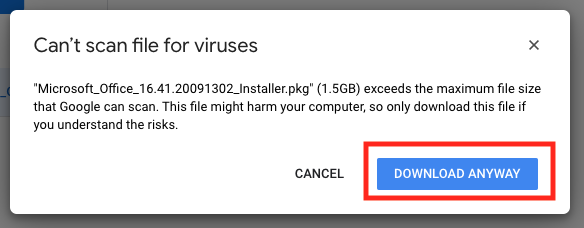
You may be presented with a pop up stating that the file is larger than Google has the ability to run a virus scan on. As this file is stored in a secure Google Drive folder that is managed by SCS Computing Facilities, select Download Anyway.
-
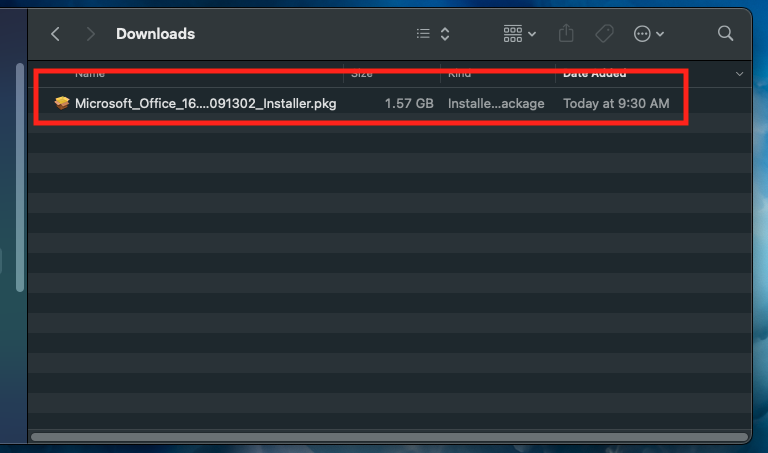
Once the download is complete, it can be found in the Downloads folder. Double-click the package to launch the installer.
-
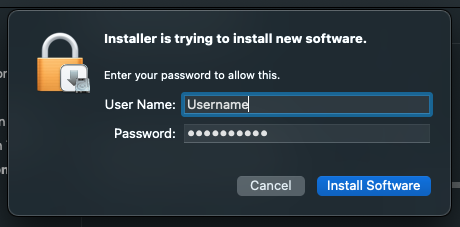
MacOS will prompt for the login credentials for your Mac to authorize the installer to run.
-
Select Continue on the installer window

-
Please read and select continue on the Software License Agreement page.

-
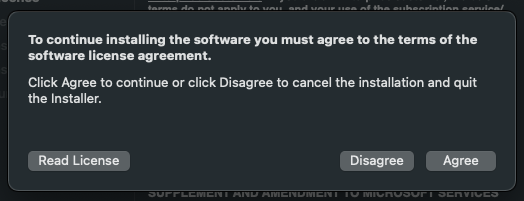
An additional prompt will present to agree to the terms of the Software License Agreement. Select Agree.
-
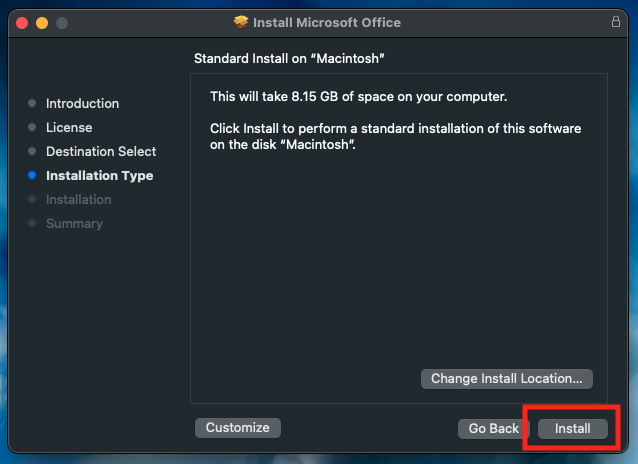
The default installation location will place the Office 365 applications in the Applications folder. Select Install.
-
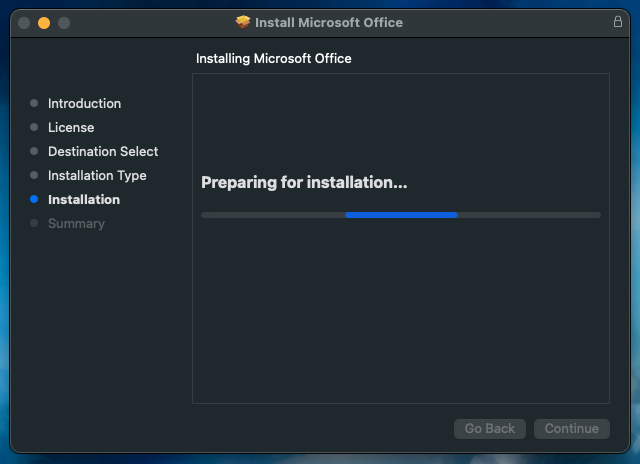
The install will begin and progress will be displayed.
-
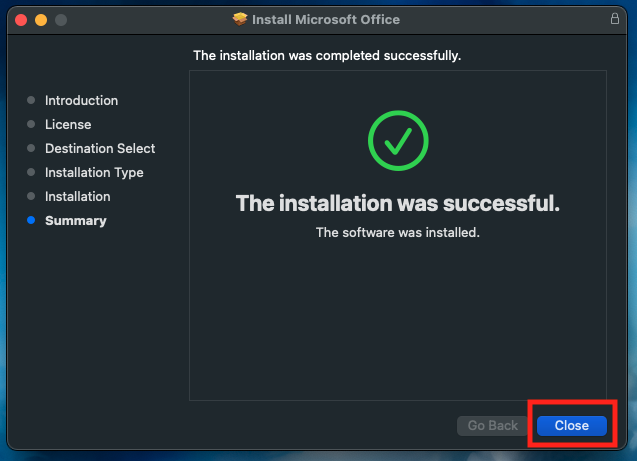
You will be notified when the installation is successful. Click Close.
-
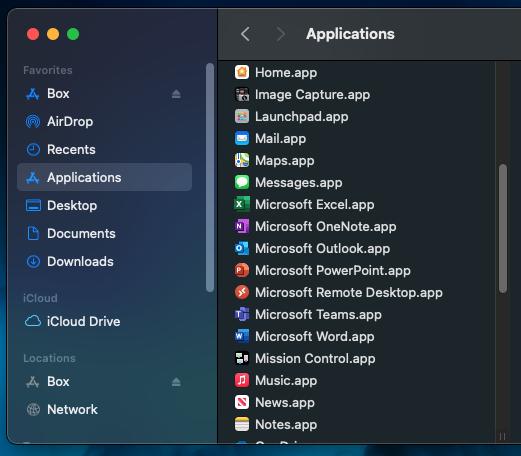
The new Office 365 icons will display in the Applications folder. Open the Office application of your choice to complete activation.
-
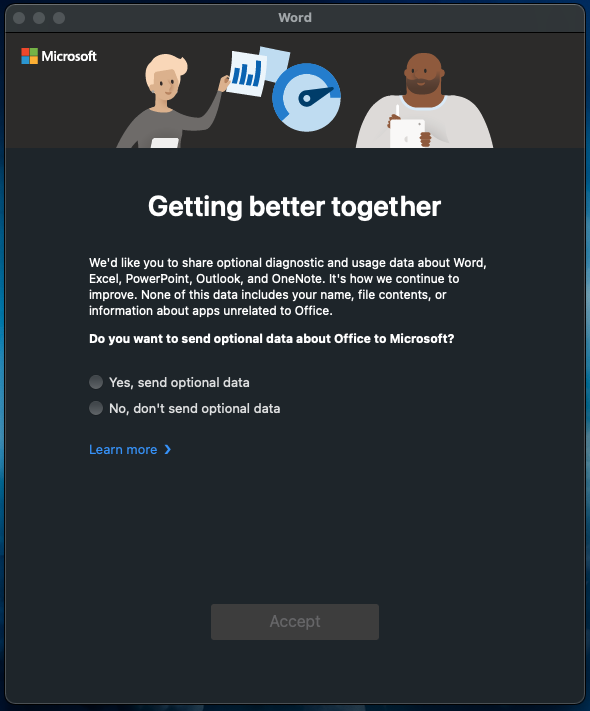
Upon opening an Office 365 application for the first time after installation, you will be prompted on whether or not you would like to share your data with Microsoft. Select your preferred option and click Accept.
-
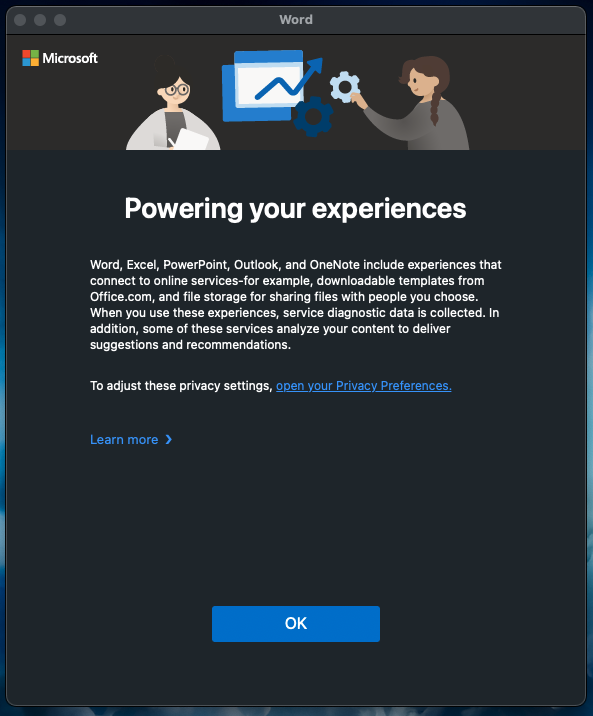
Office 365 introduces a new feature called Connected Experiences that offer convenient features but may require Microsoft to analyze your data. If you would like to disable Connected Experiences, you may do so in the Office application privacy settings. Select OK.
-
The Office 365 application will open and the Activation prompt will appear at the top of the window. Select Activate.

-
You will be prompted to Sign In to Office. Select Sign In.

-
Enter your Andrew email in the sign in field and select Next.

-
You will be redirected to Andrew SSO authentication. Enter your Andrew ID and password and select Login.

-
Complete the Duo Push prompt.

-
You are now ready to start using Office 365.

Upgrading an unsupported Mac to Office 365
Was this page helpful?
Use this box to give us feedback on this webpage and its content. If you need a response, please include your Andrew ID.
Need technical support? Submit a ticket